

How to Create a Custom Pop-Up Using Webflow: Step-by-Step Guide
Do you want to create a custom pop-up with a contact form or sign-up form for your website without redirecting your users to another page? Look no further! In this article, we will guide you through the process of building a contact form pop-up step-by-step using Webflow.
You'll be learning about:
👉 Webflow Animations & Transitions
👉 CSS Positioning
👉 How to use two different Buttons to open and close a Popup
Designing the Pop-Up Using Figma
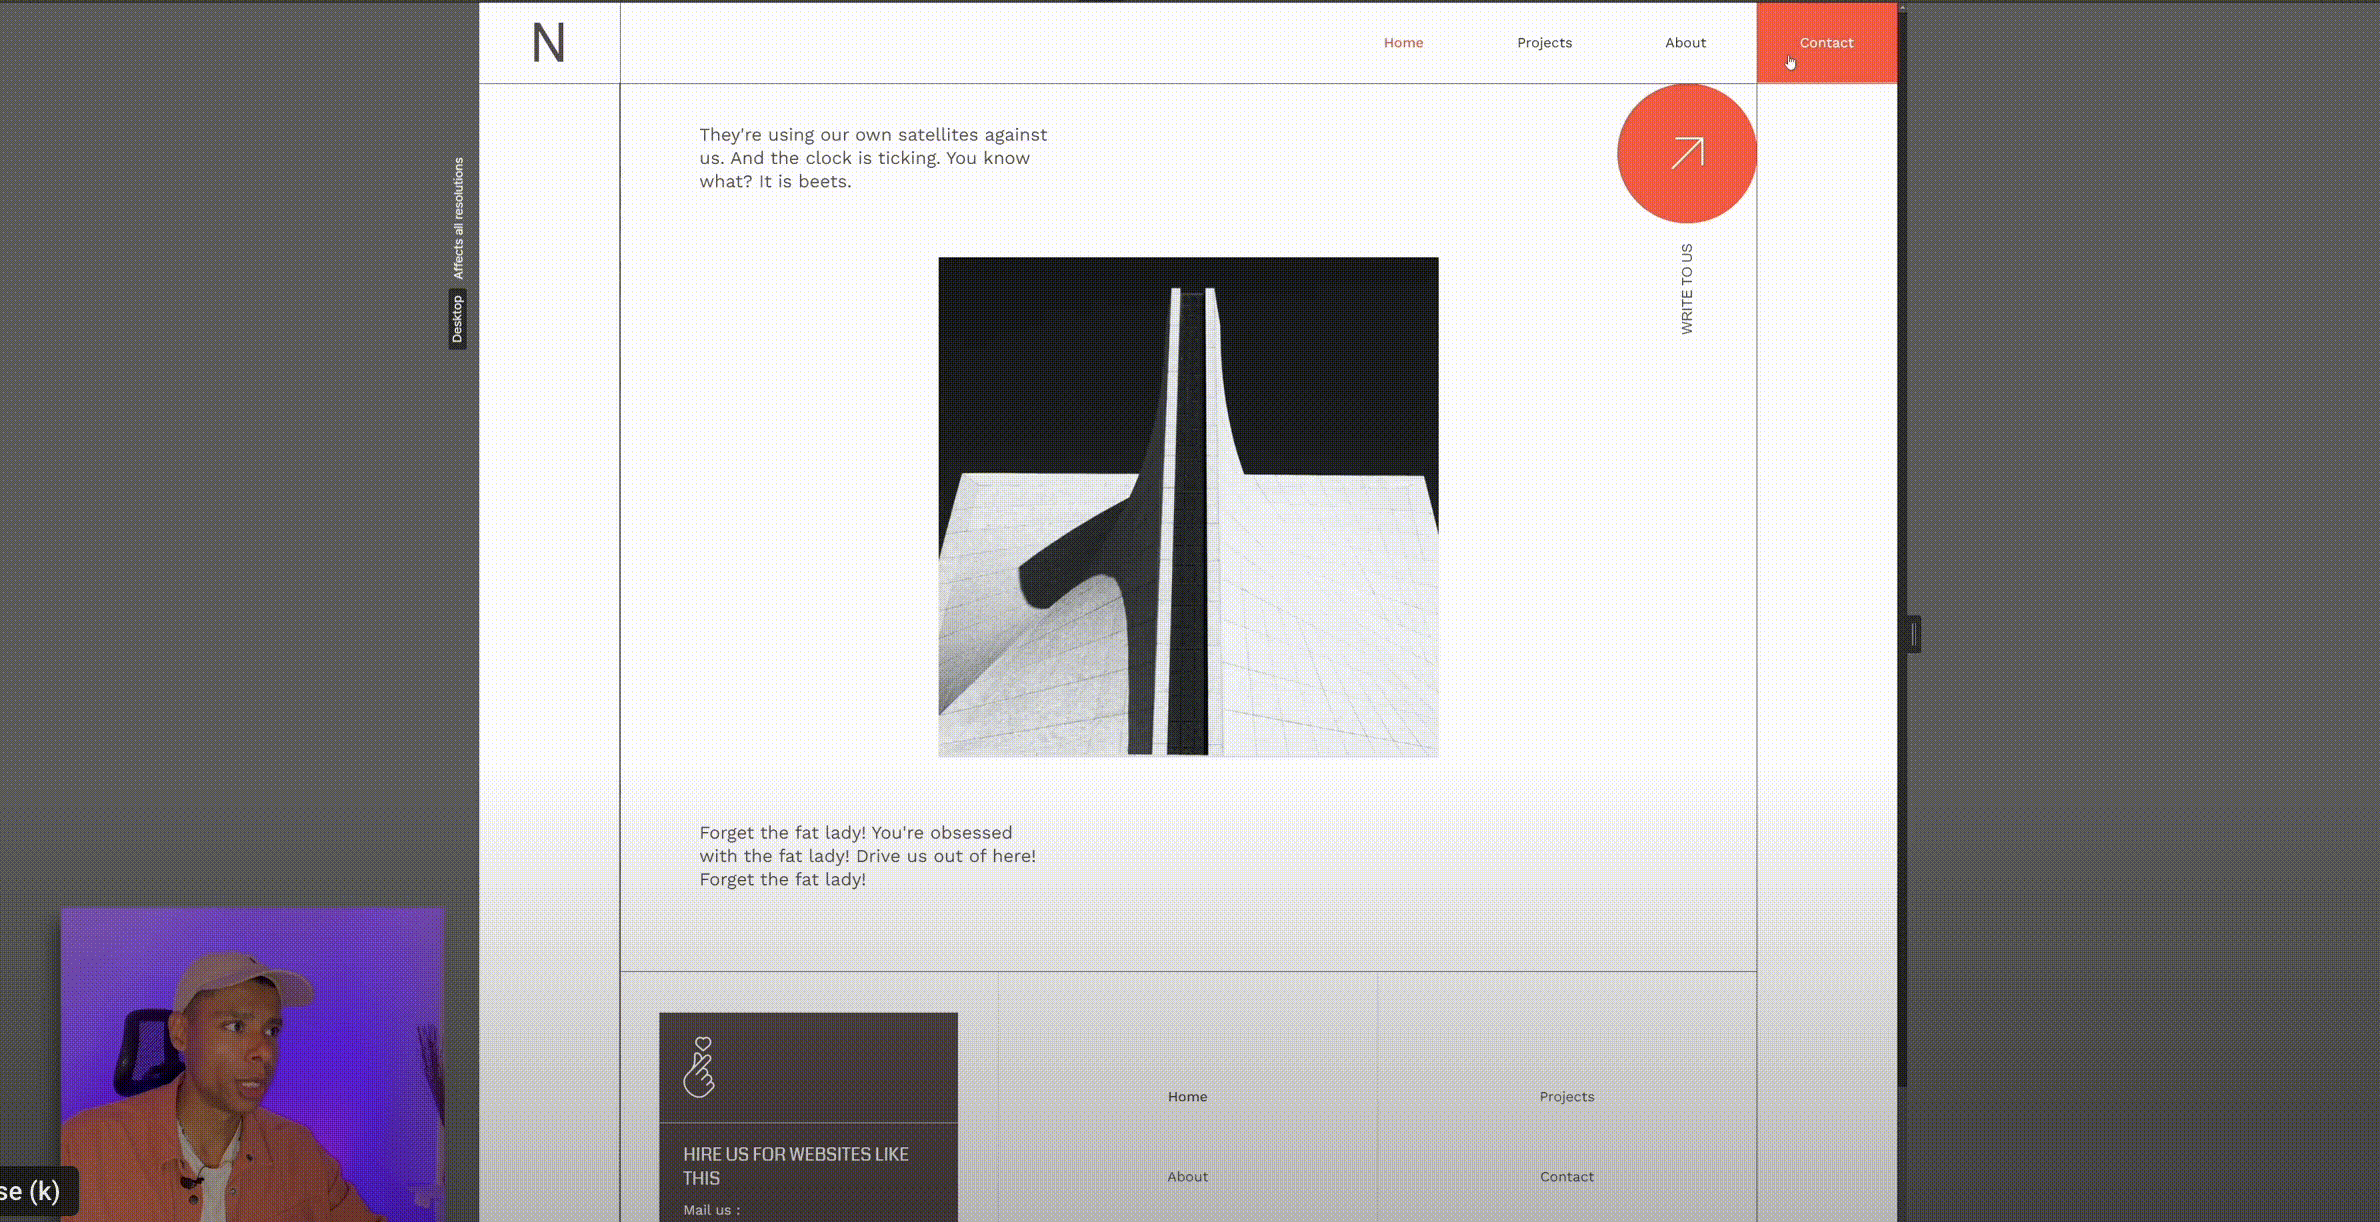
Before we dive into Webflow, I’d suggest to start to design the pop-up using Figma. Once the design is ready, we can then move onto building the pop-up in Webflow. To make things easier, we used a template from Right Hemisphere Echo based in India as a foundation for the pop-up. You can find the link to this template here.
Building the Pop-Up in Webflow
To start building the pop-up, we first created a pop-up wrapper and gave it a little padding on each side. We made sure that it was full width and full height and set it to relative. Next, we added a basic Webflow form to the wrapper and added design details from the Figma file. Additionally, we added a big hand that could be interacted with by hovering over it, giving the pop-up a playful touch. 🙂
To create the pop-up trigger, we added a button in the top right corner of the template and set it to trigger the pop-up when clicked. We then set the pop-up to absolute, added a little animation, and hid it for now.
Next, we created an element trigger on the button and called it "pop-up open." We created a new action and chose the style opacity for the pop-up wrapper. We then used classes for the interaction to make it reusable on multiple sites.
To get the Popup Interaction going with two different Buttons in Webflow, we actually need to create two interactions, so make sure to watch out for that!
Once the pop-up was open, we needed to configure the closing animation. We added a new element trigger for the X button and set it to start a new animation for the pop-up close.
To make the pop-up sticky, we set it to sticky so that the user could scroll but not see the rest of the site.
Customizing the Pop-Up 🔧
There are many ways to customize this pop-up, such as animating the text or input fields, and even using a Lottie file to animate the X instead of a static image. With Webflow, the possibilities are endless.
Conclusion
Overall, creating a custom pop-up with a contact form or a newsletter form using Webflow is a simple yet effective way to engage your users without redirecting them to another page. With this guide, you can easily create your own pop-up and customize it to your liking. Have fun creating and engaging with your users!
🚀 Check out Webflow:
https://webflow.grsm.io/webtotheflow
🧑🏾💻 Link to the Template mentioned:
https://webflow.grsm.io/architecture-template
⏲️ Timestamps
00:00 - Intro
01:55 - Structure Overview
03:10 - Create the Popup Animation
04:15 - Popup Open Animation
09:10 - Popup Closing Animation
19:00 - What else?


%20(1).png)
.jpg)